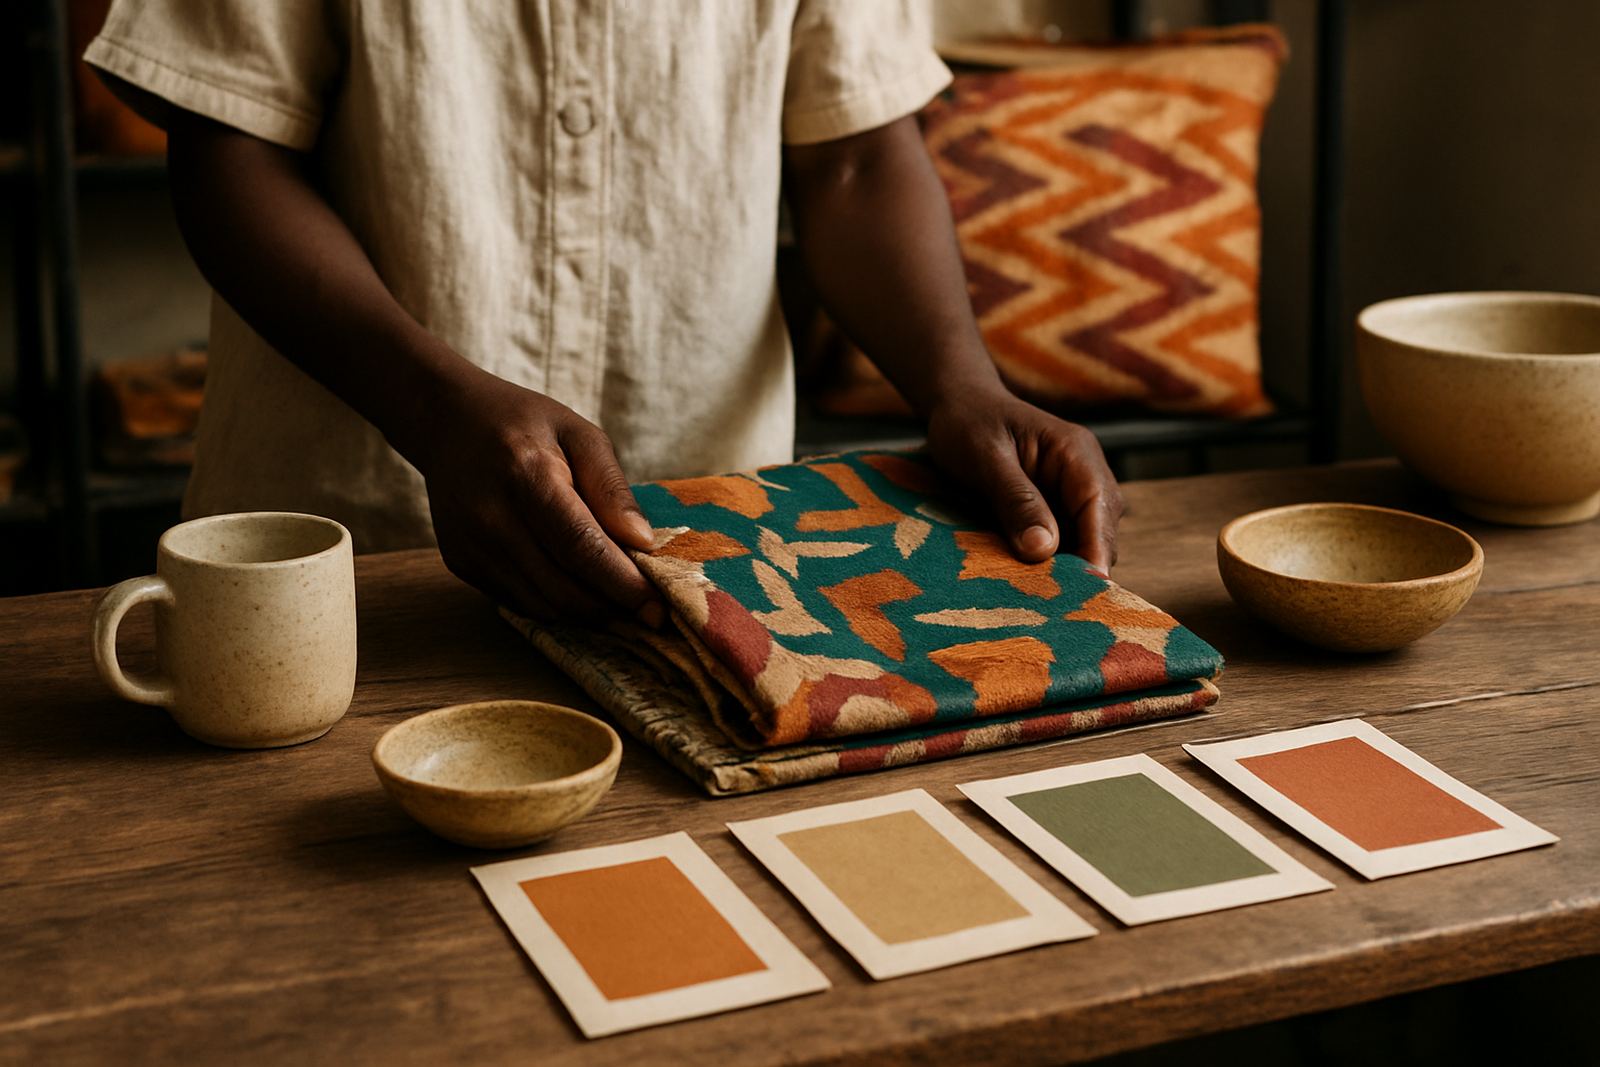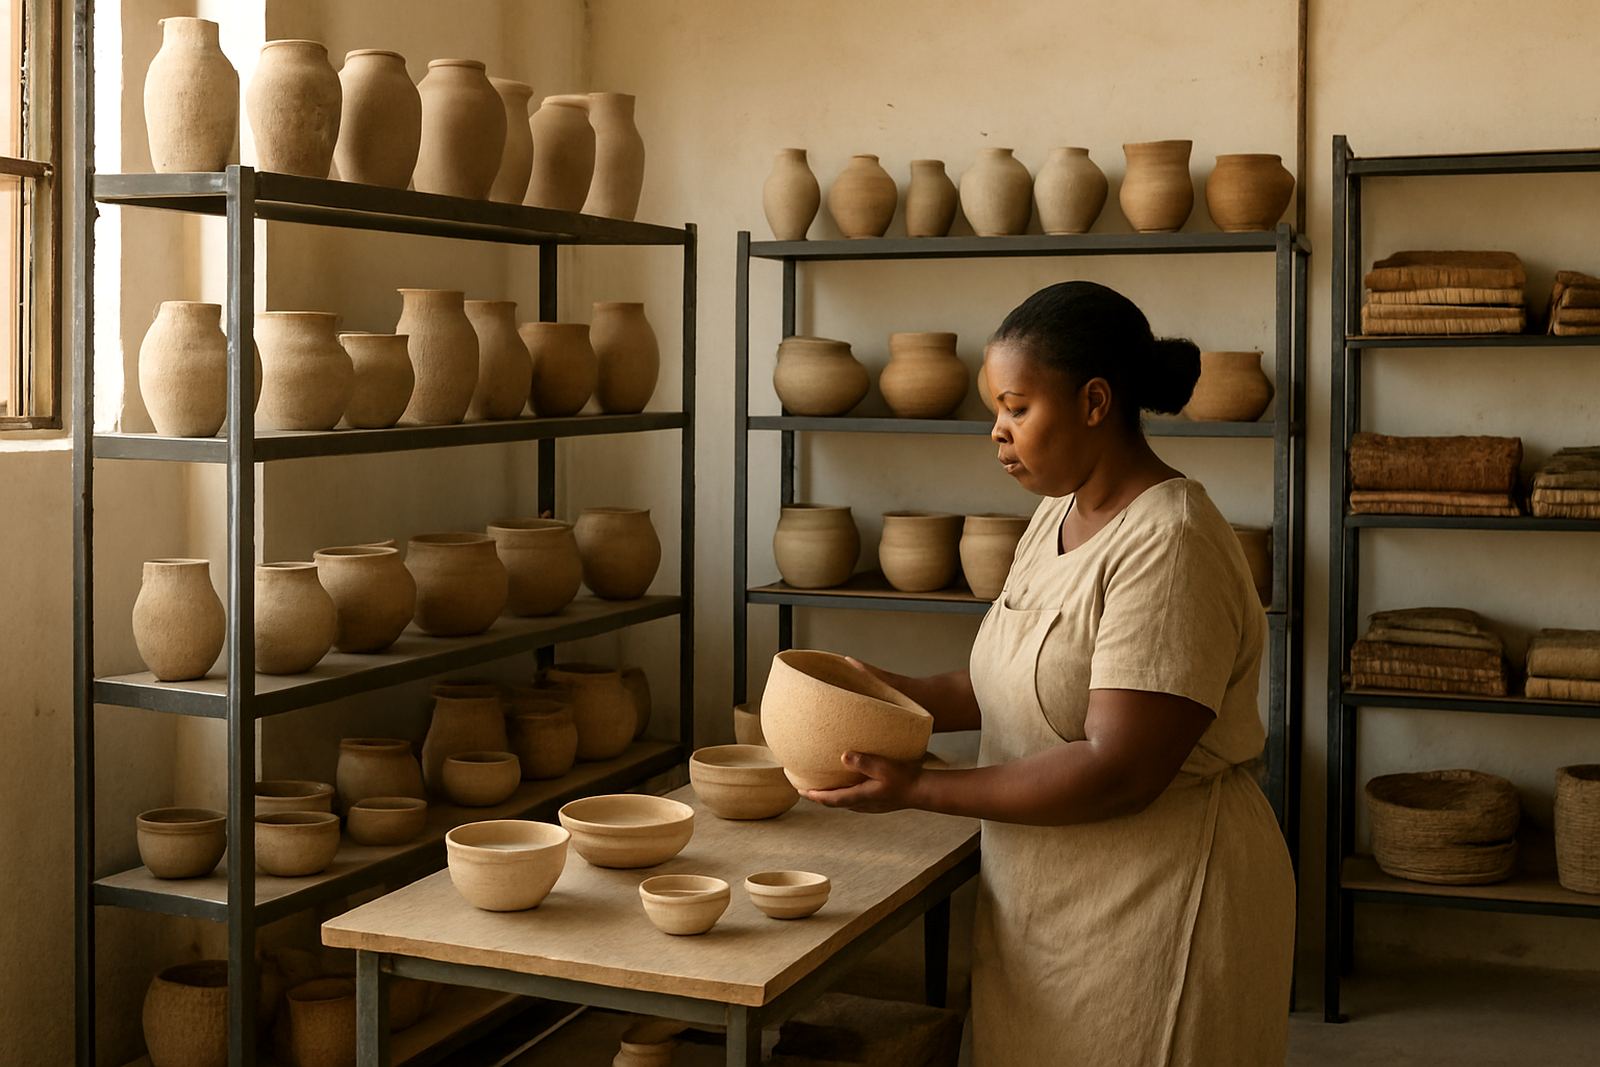

Start with the object, not the shelf
Before placing a carved piece, look at its size, weight, surface and purpose. A hand-carved wooden vessel needs different treatment from a stone figure or a small decorative relief, and the display should respect those differences. In a compact apartment in Maboneng, a single strong object on a clear sideboard can have more presence than five smaller pieces squeezed together.
Think about the viewing distance too. Objects with fine tool marks, etched lines or layered detail need close viewing, while bolder forms can sit further away and still hold attention. If the carving has a deep base or uneven underside, it should not be balanced on a narrow ledge where a simple bump could send it over. Stable positioning matters as much as appearance.
- Match the display height to the scale of the piece.
- Leave visible space around the object so the silhouette is clear.
- Check that the base is level before styling it.
- Use a surface that can carry the object’s weight without flexing.
Use directional light to bring out the cut marks
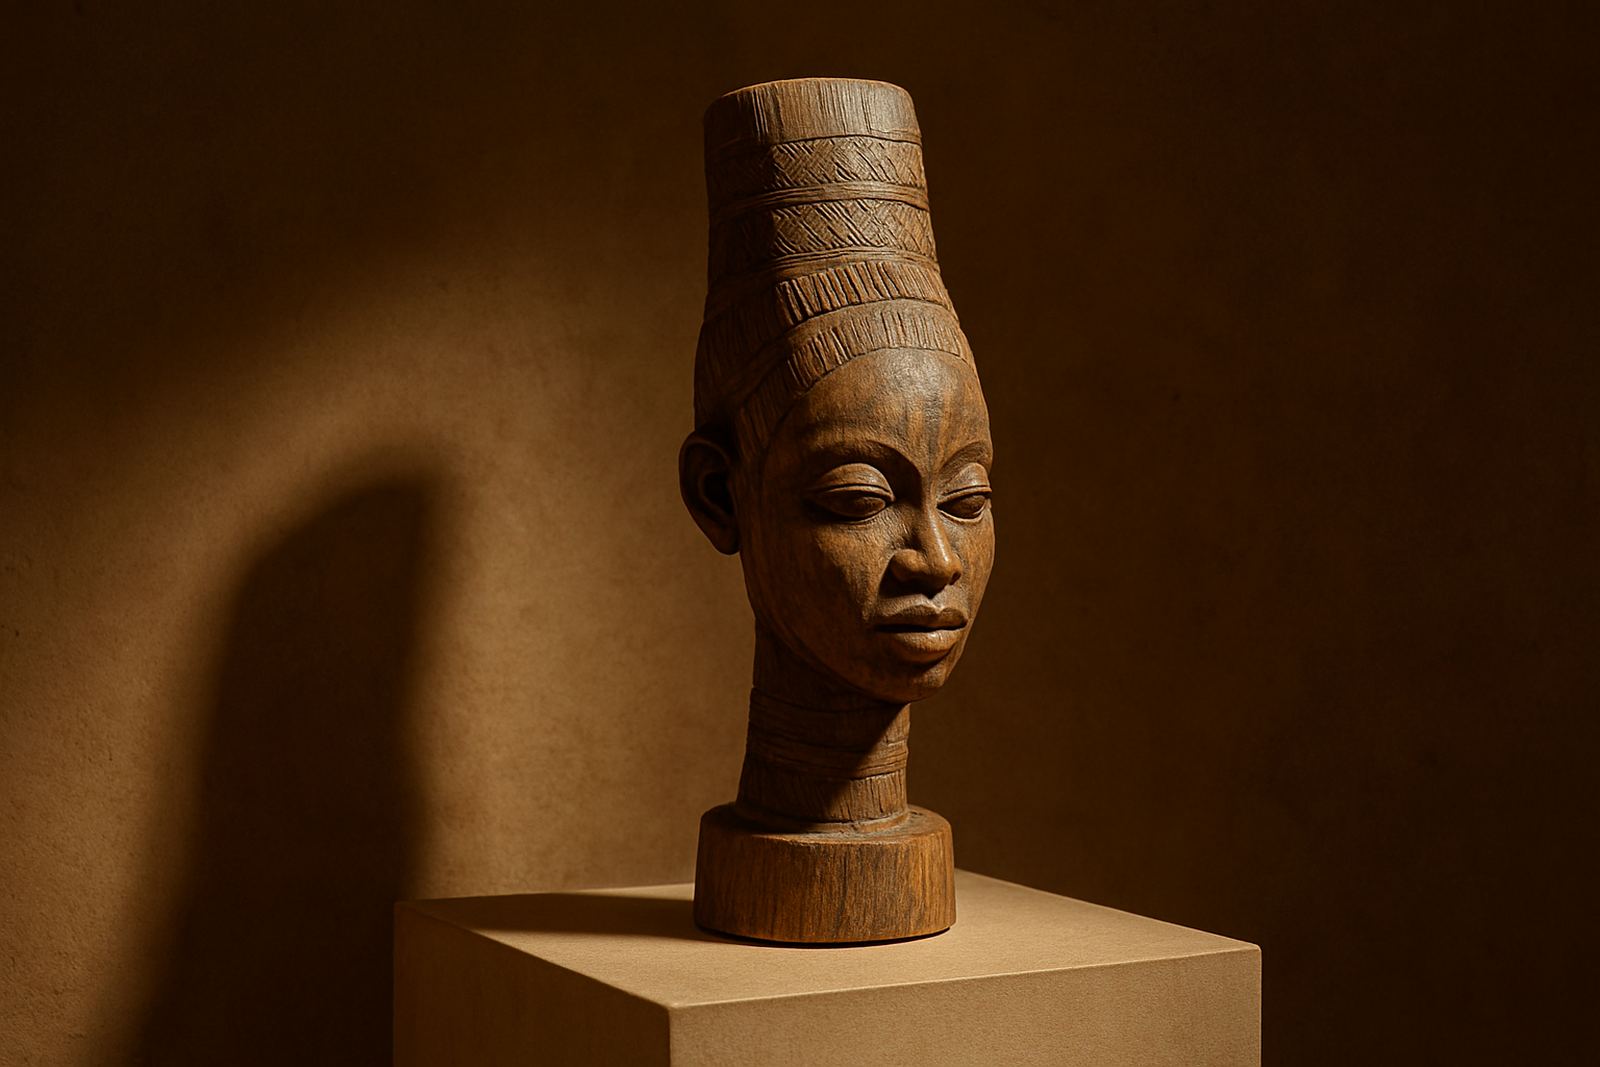
Carving relies on shadow. A soft overhead light alone can flatten the form, while a side light or angled lamp shows depth in the grooves and edges. For a carved mask, bowl or figure, place the light so it falls from one side at roughly 30 to 45 degrees. This creates definition without washing out the surface.
In a South African home, light changes quickly through the day. In a Durban space with bright coastal glare, a piece near the window may need a blind or sheer curtain to stop harsh sun from bleaching timber. In winter, when load-shedding affects evening display, a battery lamp or low-energy fitting can keep the object visible without making the room feel overlit.
- Use side lighting rather than direct front lighting where possible.
- Keep carved timber out of strong midday sun.
- Choose warm light for wood and earth-toned clay pieces.
- Test the display at day and night because the effect changes a lot.
Keep carving stable in homes with movement and dust
Stability is often overlooked until something slips. Carved objects can be top-heavy, irregular or slightly warped, especially if they were made by hand from natural material. A felt pad, hidden support or low riser can help keep the piece steady on a polished surface. For taller objects, avoid placing them where children, pets or frequent foot traffic can brush past them.
Johannesburg homes and retail spaces collect dust quickly, particularly near open doors and roads. Raised plinths and closed cabinets can reduce cleaning, but only if the object still has breathing space. If a piece is being used in hospitality styling, make sure it can be dusted easily and does not sit too close to food service areas where spills or steam may affect the finish.
- Use non-slip pads under heavier carved pieces.
- Keep tall or narrow items away from edges.
- Avoid placing carvings directly under aircon vents.
- Allow enough room for safe cleaning around the object.
Group by material, tone or story, not by quantity
It is tempting to cluster many carved items together, but too much competition can make them lose impact. A better approach is to group by common material, finish or origin. Three dark wooden pieces can work well on one console if the shapes vary, while a single carved stone object may need to stand alone. Grouping by story also helps when pieces come from different makers across the continent and each one has its own character.
A useful method is to combine one dominant object with one or two supporting items. The main piece gives the display a clear anchor, then the smaller items echo its colour or texture. In a gallery corner or reception area, this keeps the arrangement readable from a distance and still interesting up close.
- Use odd numbers for grouped displays where it feels natural.
- Vary height so the eye moves across the arrangement.
- Keep a single clear focal point.
- Leave enough open surface for the objects to feel intentional, not crowded.
Choose surfaces that suit the carving, not just the room
The surface under a carved object changes how it is read. A heavy timber carving on a glass table can feel unstable and visually cold, while on a woven runner or matte plinth it gains warmth and context. A ceramic carved vessel often looks best on a plain shelf where its outline is easy to see. If the object has strong colour, a neutral surface can help it stand out without stealing attention.
For retail or hospitality settings in Pretoria or Sandton, a display table near reception should be easy to reset and clean. That means durable finishes, hidden cable routes if lighting is used, and enough surface depth so the object does not look as if it is hanging over the edge. In export packaging and collection consultations, the same logic applies: the object needs support before it needs decoration.
- Use matte surfaces when the carving already has strong texture.
- Choose plain backgrounds for detailed pieces.
- Keep the display surface larger than the object’s footprint.
- Match the material underfoot to the object’s weight and finish.
Display carved pieces with provenance and context
People often respond more strongly to carved objects when they know where they came from and how they were made. A simple provenance card can name the maker, material, region and care notes. This is useful in homes too, not only in shops. It turns the object from decoration into something with a clear link to the hand that made it.
For a curated wall or shelf in Cape Town, Durban or Gqeberha, a short line about the maker’s technique can help visitors understand why the object was placed in that position. Was it selected for its grain, its form or the marks left by the carving tools? That detail guides the eye and makes the display feel considered rather than random.
At Creation Africa Foundry in Maboneng, we often see carved pieces gain presence when they are given one good support, one clean light source and enough space to breathe. That approach works in a Soweto dining room, a Midrand showroom or a small hospitality suite alike. Good display is not about adding more. It is about removing clutter so the object can hold its own.
A practical display plan for one carved piece
If you are unsure where to begin, use this simple method. It suits a table centre, shelf, entry console or reception counter and it can be adjusted for different sizes. The aim is to make the object easy to see, easy to clean and hard to knock over.
- Place the object on a stable surface with at least one hand’s width of clear space around it.
- Angle the nearest light source so it touches the side of the carving.
- Step back and check the outline from seated and standing height.
- Remove any extra items that distract from the form.
- Confirm that the piece feels secure and does not wobble when the surface is lightly touched.
For larger carved items in homes or commercial spaces, ask for collection consultations or sample loans before making final placement decisions. That way the scale, finish and light can be tested in the actual room, not guessed from memory.